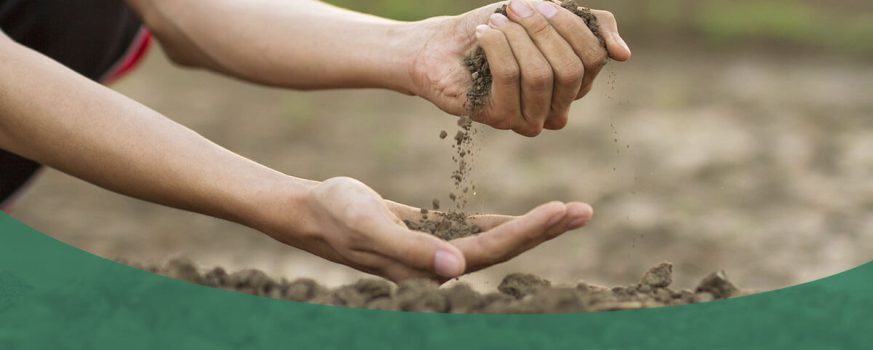
Soil has a significant impact on the health and vitality of plants. With so much to keep track of when getting started, it’s essential for first-time farmers to pay attention to soil preparation. While you can dig a hole, plant some seeds and hope they grow, soil preparation ensures you create the ideal growing environment for your crops to achieve maximum yield.
How Do You Prepare Soil for Planting?
You can ready your soil for planting with these three soil preparation tips:
- Clear out rocks, debris and weeds: Most weeds are easy to pull by hand, but you can also use a garden hoe, spade or shovel to dig up grass, weeds and rocks.
- Loosen the soil: You can till the soil or use no-till methods to loosen it.
- Adjust your soil: The last step is to adjust the soil so that it’s balanced.
To correctly adjust your soil, you need to understand it. These three steps can help you determine what your soil needs so you can amend it.
1. Learn Your Soil Texture
All soil is a mixture of rocks, organic matter and microscopic organisms. There are four main soil textures:
- Clay: Clay soil consists of fine particles that drain water slowly. This type of soil holds nutrients and water, but it can become hard and compacted during the summer and waterlogged during the winter.
- Silt: Silty soil has fine, tightly packed particles. These particles inhibit drainage and aeration.
- Sand: This soil type has loose particles that drain water too quickly. Since the water drains too fast, it washes away vital nutrients.
- Loam: The ideal soil texture for most plants is loam. It has a mixture of clay, sand and silt particles, allowing it to retain moisture, drain properly and aerate well. This soil mixture is also rich in organic matter, so it’s fertile and easy to maintain.
You can perform a feel test to determine what soil type you have by rubbing moist soil between your fingers. Clay is sticky, silt is smooth, and sand is gritty. If you can’t determine your soil type from feeling it, a formal soil test can help.
2. Test Your Soil
Soil tests let you know the nutrients, potential hydrogen (pH) level — the acidity or alkalinity of your soil — and the organic contents of your soil. These tests provide a guide so you know how to improve what you’re working with. You can perform a do-it-yourself test or choose a lab to test your soil for you.
If you hire a lab, they’ll send you a comprehensive soil composition analysis. Understanding your soil composition will help you care for your plants and optimize healthy growth. Here’s a breakdown to help you interpret your results:
- Soil nutrient levels: Your soil’s nutrient levels will be either low, medium, high or excessive. You mainly want to pay attention to the pH, potassium (K), phosphorous (P), magnesium (Mg), calcium (Ca), fertilizer and lime recommendations and organic matter (OM). Optimal and excessive levels indicate that the nutrient concentration in the soil is suitable for plant growth. Ideal soil composition is about balance — developing a nutrient-rich soil that provides everything your plants need to thrive.
- Cation exchange capacity (CEC): The CEC measures the soil’s ability to release negative ions. If there are negative charges on organic matter or clay, they will attract positive ones like potassium and calcium. Therefore, if your soil has a high CEC, it likely has higher clay or organic matter percentages.
- Organic matter: Soils with a high OM are crumbly, retain more moisture and slowly release nutrients. OM is a percentage based on weight. Healthy soils have an OM of 2% or more.
- pH levels: pH levels range from 0-14. Since seven is in the middle, soils with this pH level are neutral. Less than seven is acidic, and greater than seven is basic. Plants have different soil pH preferences, but most vegetables prefer a pH of six to seven.
3. Amend Your Soil
Now that you know what your soil needs, you can improve your soil health by amending it. Soil amendment involves adding material to improve the soil’s physical properties, like its structure, aeration, water retention and drainage. Here are some tips for amending your soil based on the test results:
- Low nutrient levels: If you have low levels of nutrients, use a fertilizer that contains the nutrients you’re missing. Follow the instructions on the fertilizer container for the best results.
- Medium nutrient levels: Only add phosphorous if the levels are medium or optimal.
- Low OM: If you have a CEC of less than 10, you should add organic matter. You can increase your OM by adding compost or manure when your OM is less than 2%. If the topsoil is thin and the OM is low, add a few inches of compost for a few years. Once the OM level is where you want it, you can add one less compost yearly to maintain high plant productivity.
- Acidic soil: You can add lime to raise the pH of acidic soil, but this also adds magnesium and calcium. Adding sulfur can lower the soil pH. If you send your test to a lab, they might recommend what type of sulfur to use — micro-fine sulfur, flowers of sulfur, iron sulfate or granular sulfur.
- Sandy soil: Add 3 to 4 inches of organic matter and mulch to fix sandy soil and mix in 2 inches of compost each fall.
- Clay soil: If your soil is clay, you can amend it by adding 3 to 4 inches of compost, manure, bark or leaf mold and a fibrous material like straw. Continue adding an inch of compost every fall.
- Silty soil: If your soil is sandy or silty, adding organic material is an excellent way to improve soil health. You can add an inch of organic matter yearly and avoid tilling to improve it.
How Long Do You Let Soil Settle Before Planting?
Once you’ve amended your soil, wait two weeks before you plant your crops. Waiting lets the nutrients fully blend and the soil drain. After two weeks, water the soil and check the moisture level to ensure it’s ready for planting. If it is, rake the ground so that it’s level and clean, and remove any sticks, rocks and debris.
CropCare® Has the Equipment You Need to Start Growing Your Vegetables
CropCare® is a Paul B. Zimmerman, Inc. company that sells innovative equipment so you can have a high crop yield and save time by working more efficiently. With over 70 years of industry experience, we know what you need for your crops. Our 3-Point Boom Sprayers can help you spread pesticides, herbicides and insecticides to streamline your operation and meet the agricultural requirements of a small or mid-sized farm. All our sprayers are built-to-order and last.
In addition to our sprayers, our selection of innovative vegetable farming equipment will make your life easier and save you money. Browse our quality equipment today and find what you need to grow your crops. We offer free quotes and technical support with every purchase. Find a dealer near you when you’re ready to start your farm!


