
Cleaning your field sprayer is vital to protecting your investments. Residual chemicals and herbicides left on the sprayer can carry over and impact your non-target crops’ yield and growth. When pesticides remain in the tank, they can contribute to erosion or react with other chemical substances. Plus, these chemical residues can reduce effectiveness in later applications, leading to more time and more spent addressing the challenges.
6 Steps for Cleaning Residue From Your Field Sprayer
Prevent crop, equipment and environmental damage by following these six steps for cleaning your sprayer.
1. Read the Label
When you mix your application solutions and wash your system, you create rinsate. This substance can be harmful to crops, wildlife, waterways and humans. Always check the label for the chemical you’re using for instructions on how to dispose of any waste.
Labels also typically include guidance on the right cleaning solutions, water temperature and disposal locations. Avoid using bleach or hot water as part of your cleanup routine since both can create unwanted chemical reactions.
2. Keep a Fresh Water Supply Handy
Having plenty of fresh water on hand simplifies the process because you can start cleaning as soon as you’ve finished the application. Plus, it’s wise to have dedicated supplies to rinse clothing or remove chemicals in contact with the skin.
3. Flush Your System in the Field
Herbicides and pesticides retain their highest concentrations in the sprayer tank once the pump stops priming, so remove as much as possible before cleaning. Do this by running fresh water through the system — we recommend using about 10% of your tank’s total capacity for the initial flush.
4. Add Required or Recommended Cleaning Agents and Agitate
Use fresh water with the directed amount of your cleaning agent or neutralizer to fill your tank to half capacity. Mix this solution well with your built-in agitator or a stick before opening your system’s lines and hoses to circulate the fluid. Before draining, completely fill the tank with water and agitate again.
5. Flush the System a Second Time
Open your spray valves to allow fresh water to flush the system and continue running until all nozzles spray pure water.
6. Clean Other Crucial Sprayer Parts
The tank isn’t the only place residue can hide, so pay special attention to filters, screens and nozzles.
Screens often trap material that settled or didn’t fully dissolve during the application process. Scrub these with the recommended cleaning agent to remove debris before rinsing thoroughly. Repeat the process with filters and nozzles to ensure no residue or build-up remains.
You’ll also want to check your sprayer’s outer surfaces, hoses, sump, pump and agitation system components and clean them by hand or with a pressure washer if necessary.
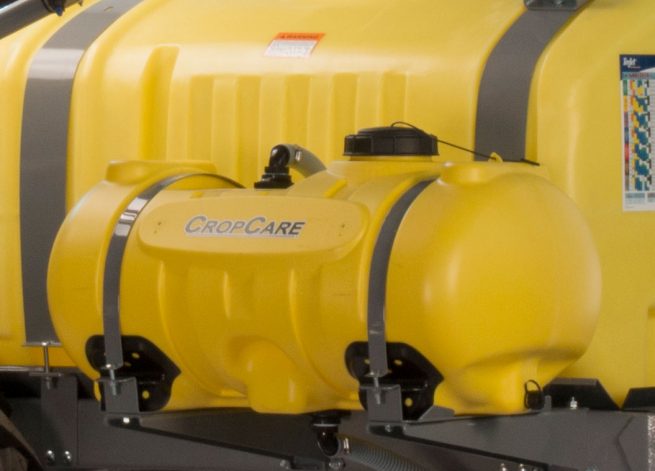
Experience Quality and Enjoy the Results With CropCare®
CropCare® began its journey in 1947 with a focus on innovation and customer service, values we still embrace today. Our 3-point sprayers and trailer sprayers are durable and time-saving solutions for improving efficiency and crop yields. Combine them with accessories like a freshwater tank, power wash system and wash-down hoses for practicality and value.
Browse our options online, then contact us to request a quote.